今回は顔認識を紹介します。
一般に顔認識といいますと、2つの文脈に分解ができます。1つ目は、画像から顔を検出する顔検出と呼ばれる分野と、2つ目は検出した顔は誰だったのか?という顔認識の分野です。検出がしたいタスクなのか、認識したいタスクなのかでアプローチは異なってきます。今回は、顔検出、顔認識のどちらも可能なライブラリの紹介をします。
環境:Ubuntu, Python 3.6
今回はこちら https://github.com/ageitgey/face_recognition を使用してみました。
インストール方法は簡単で、pip install だけです。
pip install face_recognition
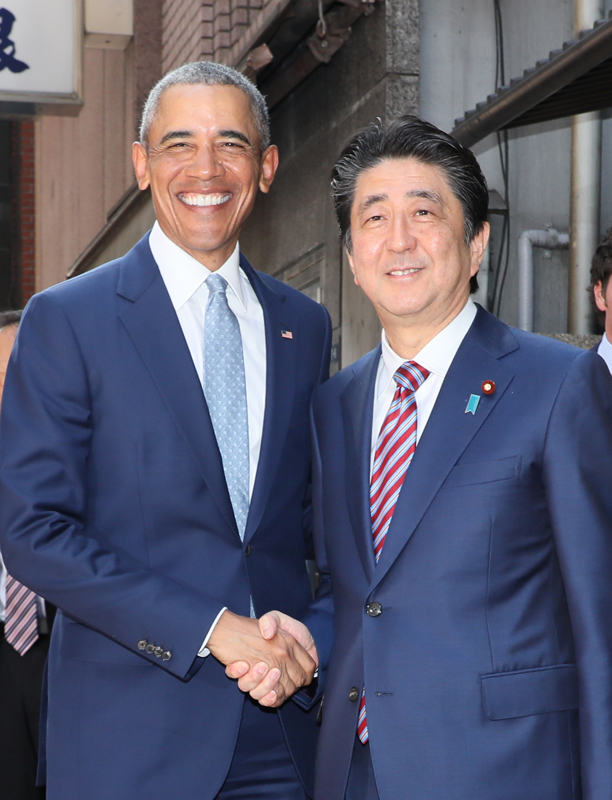
今回テストする画
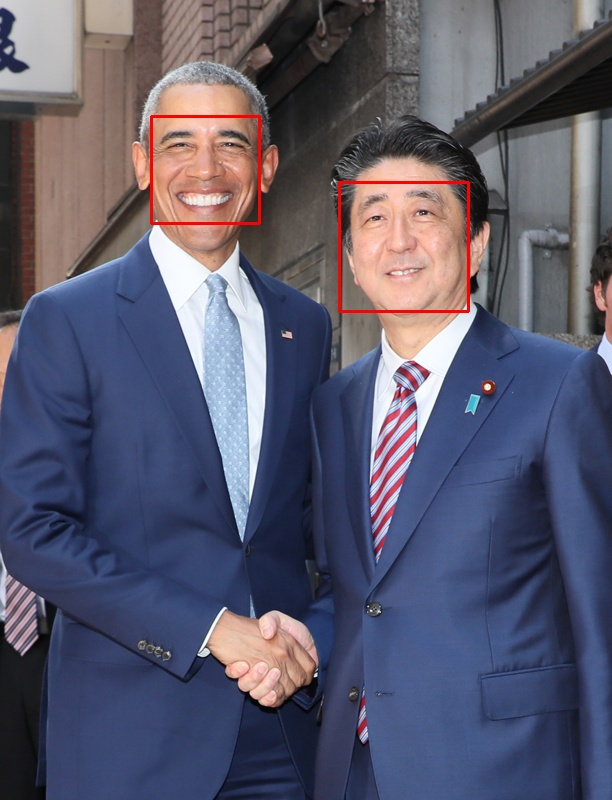
まずは顔検出をしてみます。
実装コードは以下です
import cv2
import face_recognition

image = face_recognition.load_image_file("Shinzo_Barack.jpg")
face_locations = face_recognition.face_locations(image)

for (top, right, bottom, left) in face_locations:
    cv2.rectangle(image, (left, top), (right, bottom), (255, 0, 0), 2)

image = cv2.cvtColor(image, cv2.COLOR_BGR2RGB)
cv2.imwrite("face_bbox.jpg", image)
無事に顔を検出することができました
次に、顔認識を行います。
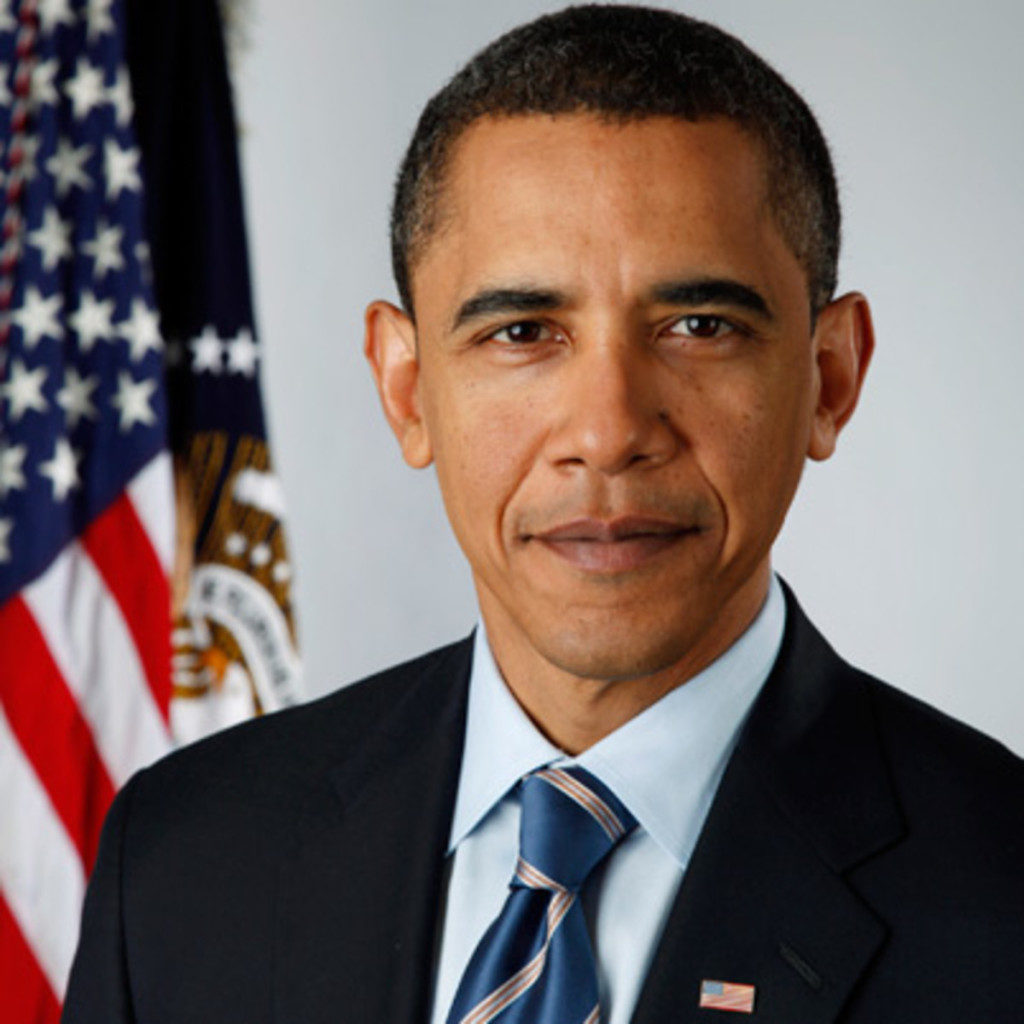
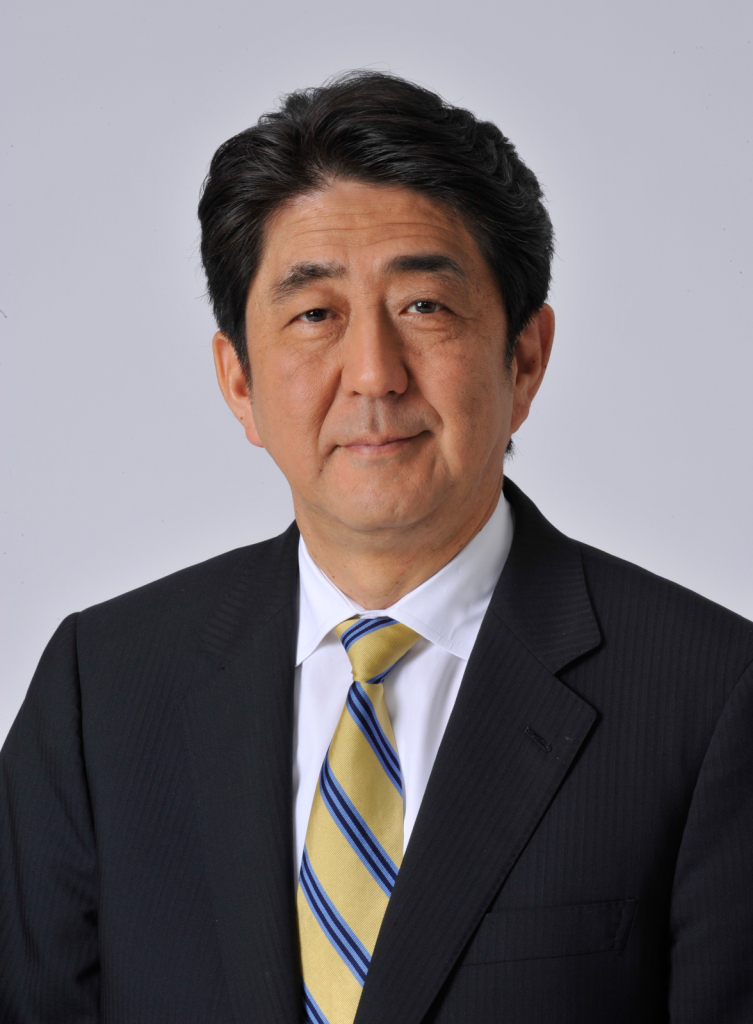
その前に、学習データとして事前にオバマ大統領と安倍首相の教えないといけません。こちらの画像をシステムに事前に配布しました。
準備は整ったので顔検出と顔認識の両方を行います
コードはこちら
import cv2
import face_recognition
import numpy as np
# Load a sample picture and learn how to recognize it.
obama_image = face_recognition.load_image_file("Barack_Obama.jpg")
obama_face_encoding = face_recognition.face_encodings(obama_image)[0]
# Load a second sample picture and learn how to recognize it.
abe_image = face_recognition.load_image_file("Shinzō_Abe.jpg")
abe_face_encoding = face_recognition.face_encodings(abe_image)[0]
# Create arrays of known face encodings and their names
known_face_encodings = [
obama_face_encoding,
abe_face_encoding
]
known_face_names = [
"Barack Obama",
"Abe Shinzo"
]
image = face_recognition.load_image_file("Shinzo_Barack.jpg")
face_locations = face_recognition.face_locations(image)
face_encodings = face_recognition.face_encodings(image, face_locations)
face_names = []
for face_encoding in face_encodings:
# See if the face is a match for the known face(s)
matches = face_recognition.compare_faces(known_face_encodings, face_encoding)
name = "Unknown"
# # If a match was found in known_face_encodings, just use the first one.
# if True in matches:
# first_match_index = matches.index(True)
# name = known_face_names[first_match_index]
# Or instead, use the known face with the smallest distance to the new face
face_distances = face_recognition.face_distance(known_face_encodings, face_encoding)
best_match_index = np.argmin(face_distances)
if matches[best_match_index]:
name = known_face_names[best_match_index]
face_names.append(name)
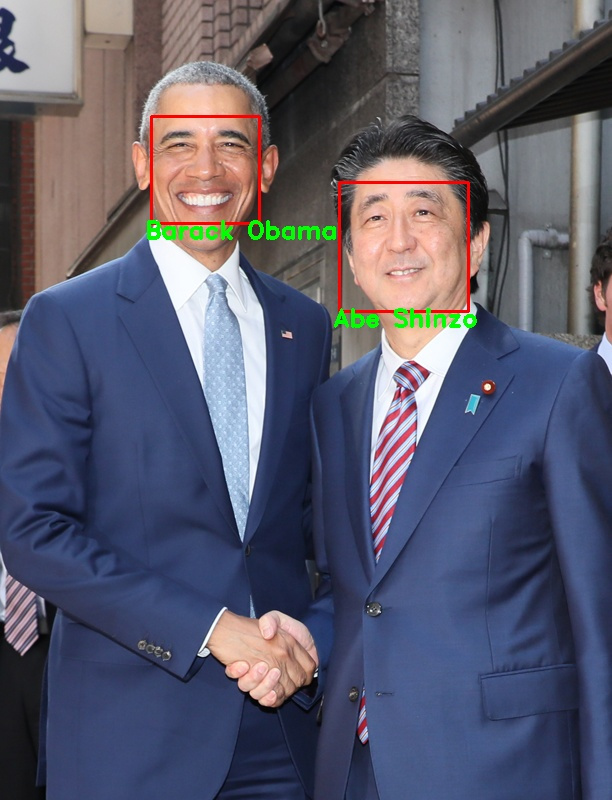
for (top, right, bottom, left), name in zip(face_locations, face_names):
cv2.rectangle(image, (left, top), (right, bottom), (255, 0, 0), 2)
font = cv2.FONT_HERSHEY_DUPLEX
cv2.putText(image, name, (left - 6, bottom + 15), font, 0.8, (0, 255, 0), 2)
image = cv2.cvtColor(image, cv2.COLOR_BGR2RGB)
cv2.imwrite("face_recognition.jpg", image)顔検出と顔認識ができました。
サードパーティのライブラリと組み合わせると動画でも同様のことが可能になります…!